Start with a clean source
The best results come from sharp photos with visible edges and good contrast between the subject and surroundings.
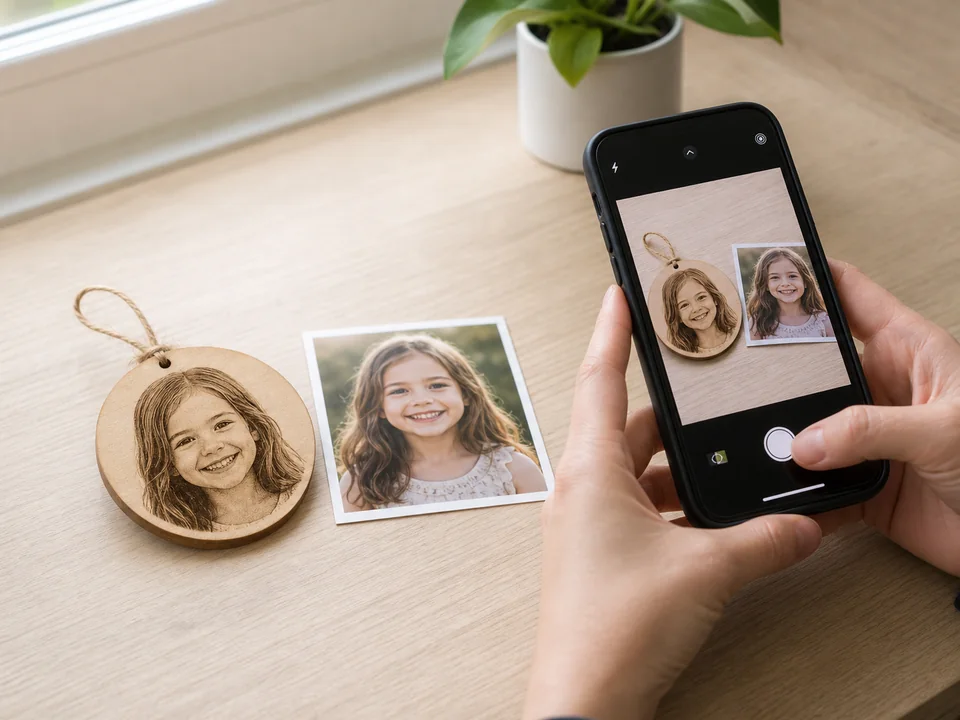
Good engraving artwork starts before generation. The photo should be clear enough, the subject should be readable, and the output should match the product size.
Reviewed by LineArtReady · Last reviewed 2026-06-13
The best results come from sharp photos with visible edges and good contrast between the subject and surroundings.
Small items need simpler artwork. Larger plaques can carry more interior detail.
Use the generated PNG as artwork input, then set dimensions, placement, and material-specific engraving parameters.
A sharp, well-lit photo where the subject is large in the frame and separated from the background.
Basic cropping can help, but avoid cutting off the subject. The app handles the conversion workflow.
PNG is the supported output format and can be used as artwork input in many engraving workflows.
Upload a photo, adjust the engraving filters, generate line art, and download a PNG.
Open LineArtReady